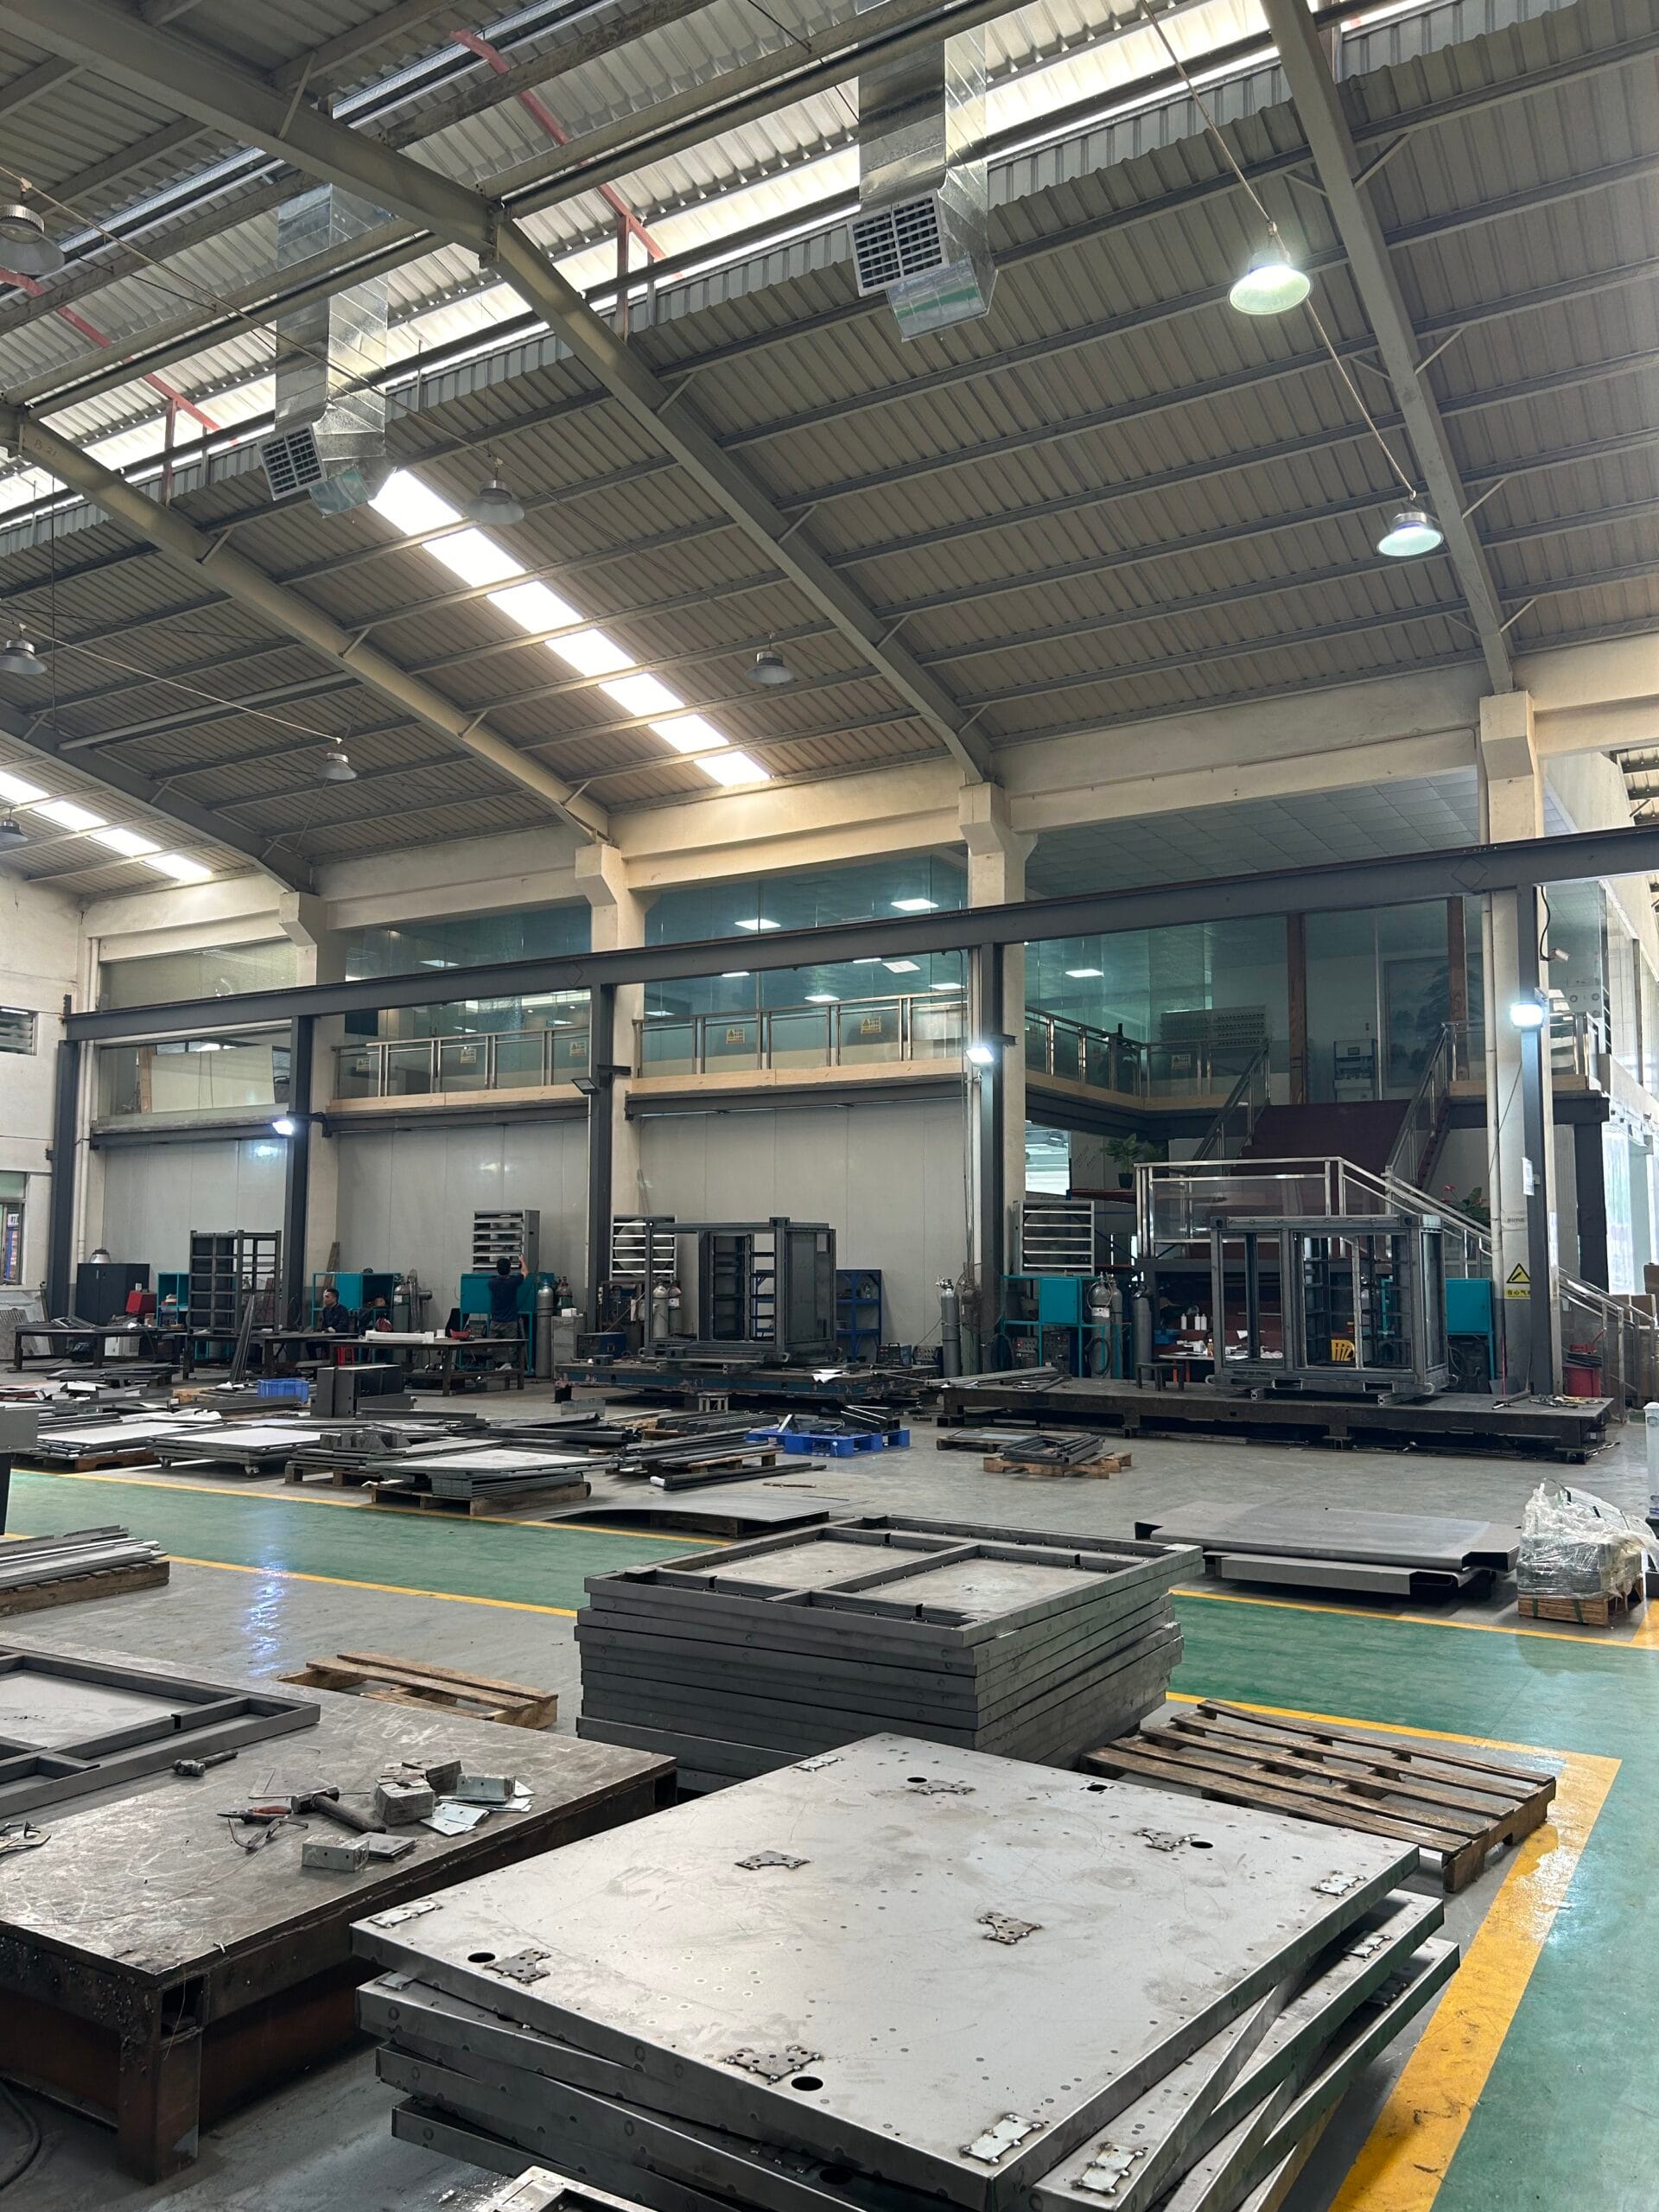
Sheet metal fabrication is a comprehensive cold‑working process for metal sheets typically up to 6 mm thick. It involves shearing, punching, cutting, bending, welding, riveting, joining, and forming. Among these, welding is a critical step that directly affects the structural integrity and appearance of the final assembly.
To help you achieve consistent, high‑quality welds, this guide covers the essential requirements in three phases: before welding, during welding, and after welding – including practical do’s and don’ts based on real shop‑floor experience.
1. Pre‑Weld Preparation: Three Foundation Steps
1.1 Incoming Material Inspection
- All raw materials must meet or exceed the grades, thicknesses, and surface quality specified on the drawing. Substandard materials must not be cut or processed.
- For structural steel sections (e.g., square tubes, angle irons) that require welding, the surface flatness must not exceed 2 mm per 1000 mm of length, and the overall bowing must be less than 0.3% of the total length. Out‑of‑tolerance sections must be straightened before use.
1.2 Pre‑treatment of Components (Straightening & Levelling)
- All parts with distortion must be straightened and levelled before entering the welding station. Attempting to weld deformed parts into an assembly introduces high residual stresses that will cause dimensional deviations after welding.
1.3 Selecting the Right Filler Wire
- Choose the appropriate wire diameter and grade based on part size, sheet thickness, and joint configuration. Incorrect wire selection is a major cause of porosity, slag inclusions, and poor fusion.
2. In‑Process Welding Controls: Nine Key Execution Standards
2.1 Strict Adherence to Drawings & Specifications
- All welding operations must follow the approved engineering drawings, technical specifications, and process documents. Any process change requires written authorisation from the engineering department.
2.2 Groove (Bevel) Preparation
- Where the drawing calls for a groove or bevel, it must be prepared. If the incoming part has no groove but the material is thick enough to require one, use a grinder or machining method to create the bevel – ensuring full penetration.
2.3 Dimensional & Geometric Tolerance Control (IT15 Baseline)
- Throughout welding, continuously monitor the part’s overall dimensions and geometric tolerances. For non‑machined surfaces without specific callouts, the tolerances shall conform to IT15 grade (refer to the corresponding linear tolerance ranges if you are unfamiliar with the standard).
2.4 Material Substitution – Strictly Prohibited Without Approval
- Never substitute materials or thicknesses on your own. If replacement is unavoidable, you must obtain written consent from the engineering department, and the substitute thickness must be at least as thick as the drawing’s nominal value.
2.5 Intermittent (Skip) Welding – Standard Practice
- Weld length and spacing must follow the drawing. If the drawing does not specify dimensions for skip welding, apply the industry default: weld 8–10 mm for every 50 mm interval, ensuring that all weld segments are evenly spaced.
2.6 Continuous Welds – Zero‑Defect Appearance
- Continuous welds must be straight, smooth, and evenly contoured. The following defects are strictly forbidden: burn‑through, misalignment, heavy scarring, excessive porosity, undercut, and uneven ripple. The fillet weld leg height shall be as per the drawing; if not specified, it shall equal the thinner of the two joined parts.
2.7 Grinding After Each Pass
- Every completed weld bead must be ground immediately. This serves two purposes: complete removal of slag, and deburring of sharp edges in the heat‑affected zone.
2.8 No Unauthorised Substitution of Forming Method
- Parts that are explicitly designed for bending (rather than welding) must not be fabricated by welding segments together unless the engineering department provides written approval. Bent parts offer superior integrity compared to welded‑up assemblies.
2.9 Corrective Hammering – Use Care
- If size adjustment is needed during welding, use a small hand hammer and tap gently until the dimension falls within tolerance. Never strike the sheet metal surface heavily with a large hammer – this will cause dents, surface damage, or even scrapping of the workpiece.
3. Post‑Weld Treatment and Acceptance Criteria (Five Hard Requirements)
3.1 Weld Appearance – Fish‑Scale Ripples & Smoothness
- A qualified weld should show fine, uniform fish‑scale ripples. Localised bumps, excessive build‑up, or uneven contours are not acceptable.
3.2 Edge Alignment, Surface Flatness & Secondary Cleaning
- After welding, ensure that edges are straight and surfaces are flat. Thoroughly grind the weld area and surrounding zones with abrasive cloth to remove all sharp burrs, residual slag, weld spatter, and protruding points – leaving the weld smooth and flush.
3.3 Special Limitation for Flat Surfaces (e.g., Enclosures)
- For flat surfaces of box‑type or cabinet‑type parts, the weld reinforcement must not rise above the base material plane. As a rule of thumb, the subsequent putty/filler layer should be able to completely cover the weld trace.
3.4 Protection of High‑Finish or Unmachined Surfaces
- For parts that will not undergo any further machining after welding, strict surface protection (e.g., adhesive film or asbestos cloth) is mandatory throughout the welding process to prevent arc burns or spatter damage. If the weld is uniform and free of defects, do not grind these surfaces unnecessarily – grinding can destroy the original oxide layer or textured finish.
3.5 Coordination with Subsequent Chemical Treatments (Bluing / Electroplating)
- For parts that require bluing, electroplating, or other chemical surface finishing after welding, the entire batch must undergo sandblasting once welding is approved – this removes scale and activates the surface. During handling and storage, additional protection is essential to avoid scratches or impact damage, and mechanical grinding is strictly prohibited after sandblasting, as it would compromise the micro‑roughness needed for good coating adhesion.
Final Word: Quality Welding is Controlled, Not Repaired
In sheet metal welding, about 60% of the final quality depends on proper levelling and groove preparation before welding, 30% on in‑process parameters and technique, and only 10% on post‑weld touch‑up. By rigorously following the pre‑, in‑, and post‑weld requirements outlined above, you can significantly reduce rework and ensure consistent, high‑quality production.
Contact Us
Click here: Contact Us
Email: [email protected]
Author:David Wu
video URL:https://www.youtube.com/@David-OEM
China Kewei Intelligent Technology Co., Ltd
Address:No. 23, Yexing Road, Xiangxi Industrial Zone, Liaobu Town, Dongguan City, Guangdong Province, China
With our profound expertise in customized sheet metal manufacturing services, CNC milling and turning, and metal stamping processing, we meet the complex needs of the automation equipment industry, new energy storage industry, and manufacturing industry. Our service portfolio includes automation equipment enclosures, precision mechanical parts, energy storage cabinet enclosures, and other customized metal products. We use advanced laser cutting, welding, and forming technologies to produce parts with strict tolerances and excellent surface finish. Whether you need small batch prototypes for research and development or large-scale production for assembly lines, our scalable solutions ensure the quality, cost-effectiveness, and on-time delivery of your industrial projects
相关文章:
 The Complete Guide to Sheet Metal Fabrication: Processes, Materials, and Best Practices
Custom Cut Sheet Metal: A Complete Guide for Buyers and Engineers
The Complete Guide to Sheet Metal Fabrication: Processes, Materials, and Best Practices
Custom Cut Sheet Metal: A Complete Guide for Buyers and Engineers
 Custom Metal Enclosures in China: Your Complete Guide to OEM Sheet Metal Housings
 Sheet Metal Parts Quality Issues: Is It the Supplier’s Fault or Yours?